
Getting a CLU
04 Jan 2022The end of the year! Time to spend everything that’s left over from the budget before the money magically disappears :D
For a while I’ve been considering putting together a little cluster of Raspberry Pi’s to give myself a playground for learning about kubernetes. With work winding down for the year, I finally managed to find a chance to do it, and with any luck I’ll have a better idea of how to k8s by the time I get back to actual client work in the next couple of weeks.
How it started
I love the fact that I can get a reasonably powerful computer for less than AU$100 these days. Sure, a Pi4 isn’t going to set any world records, but a quad-core ARM64 with 4GB of RAM isn’t anything to sneeze at. Adding the extra bits to make it actually usable bumps that price up a little, but it’s still way cheaper than it feels like it should be.
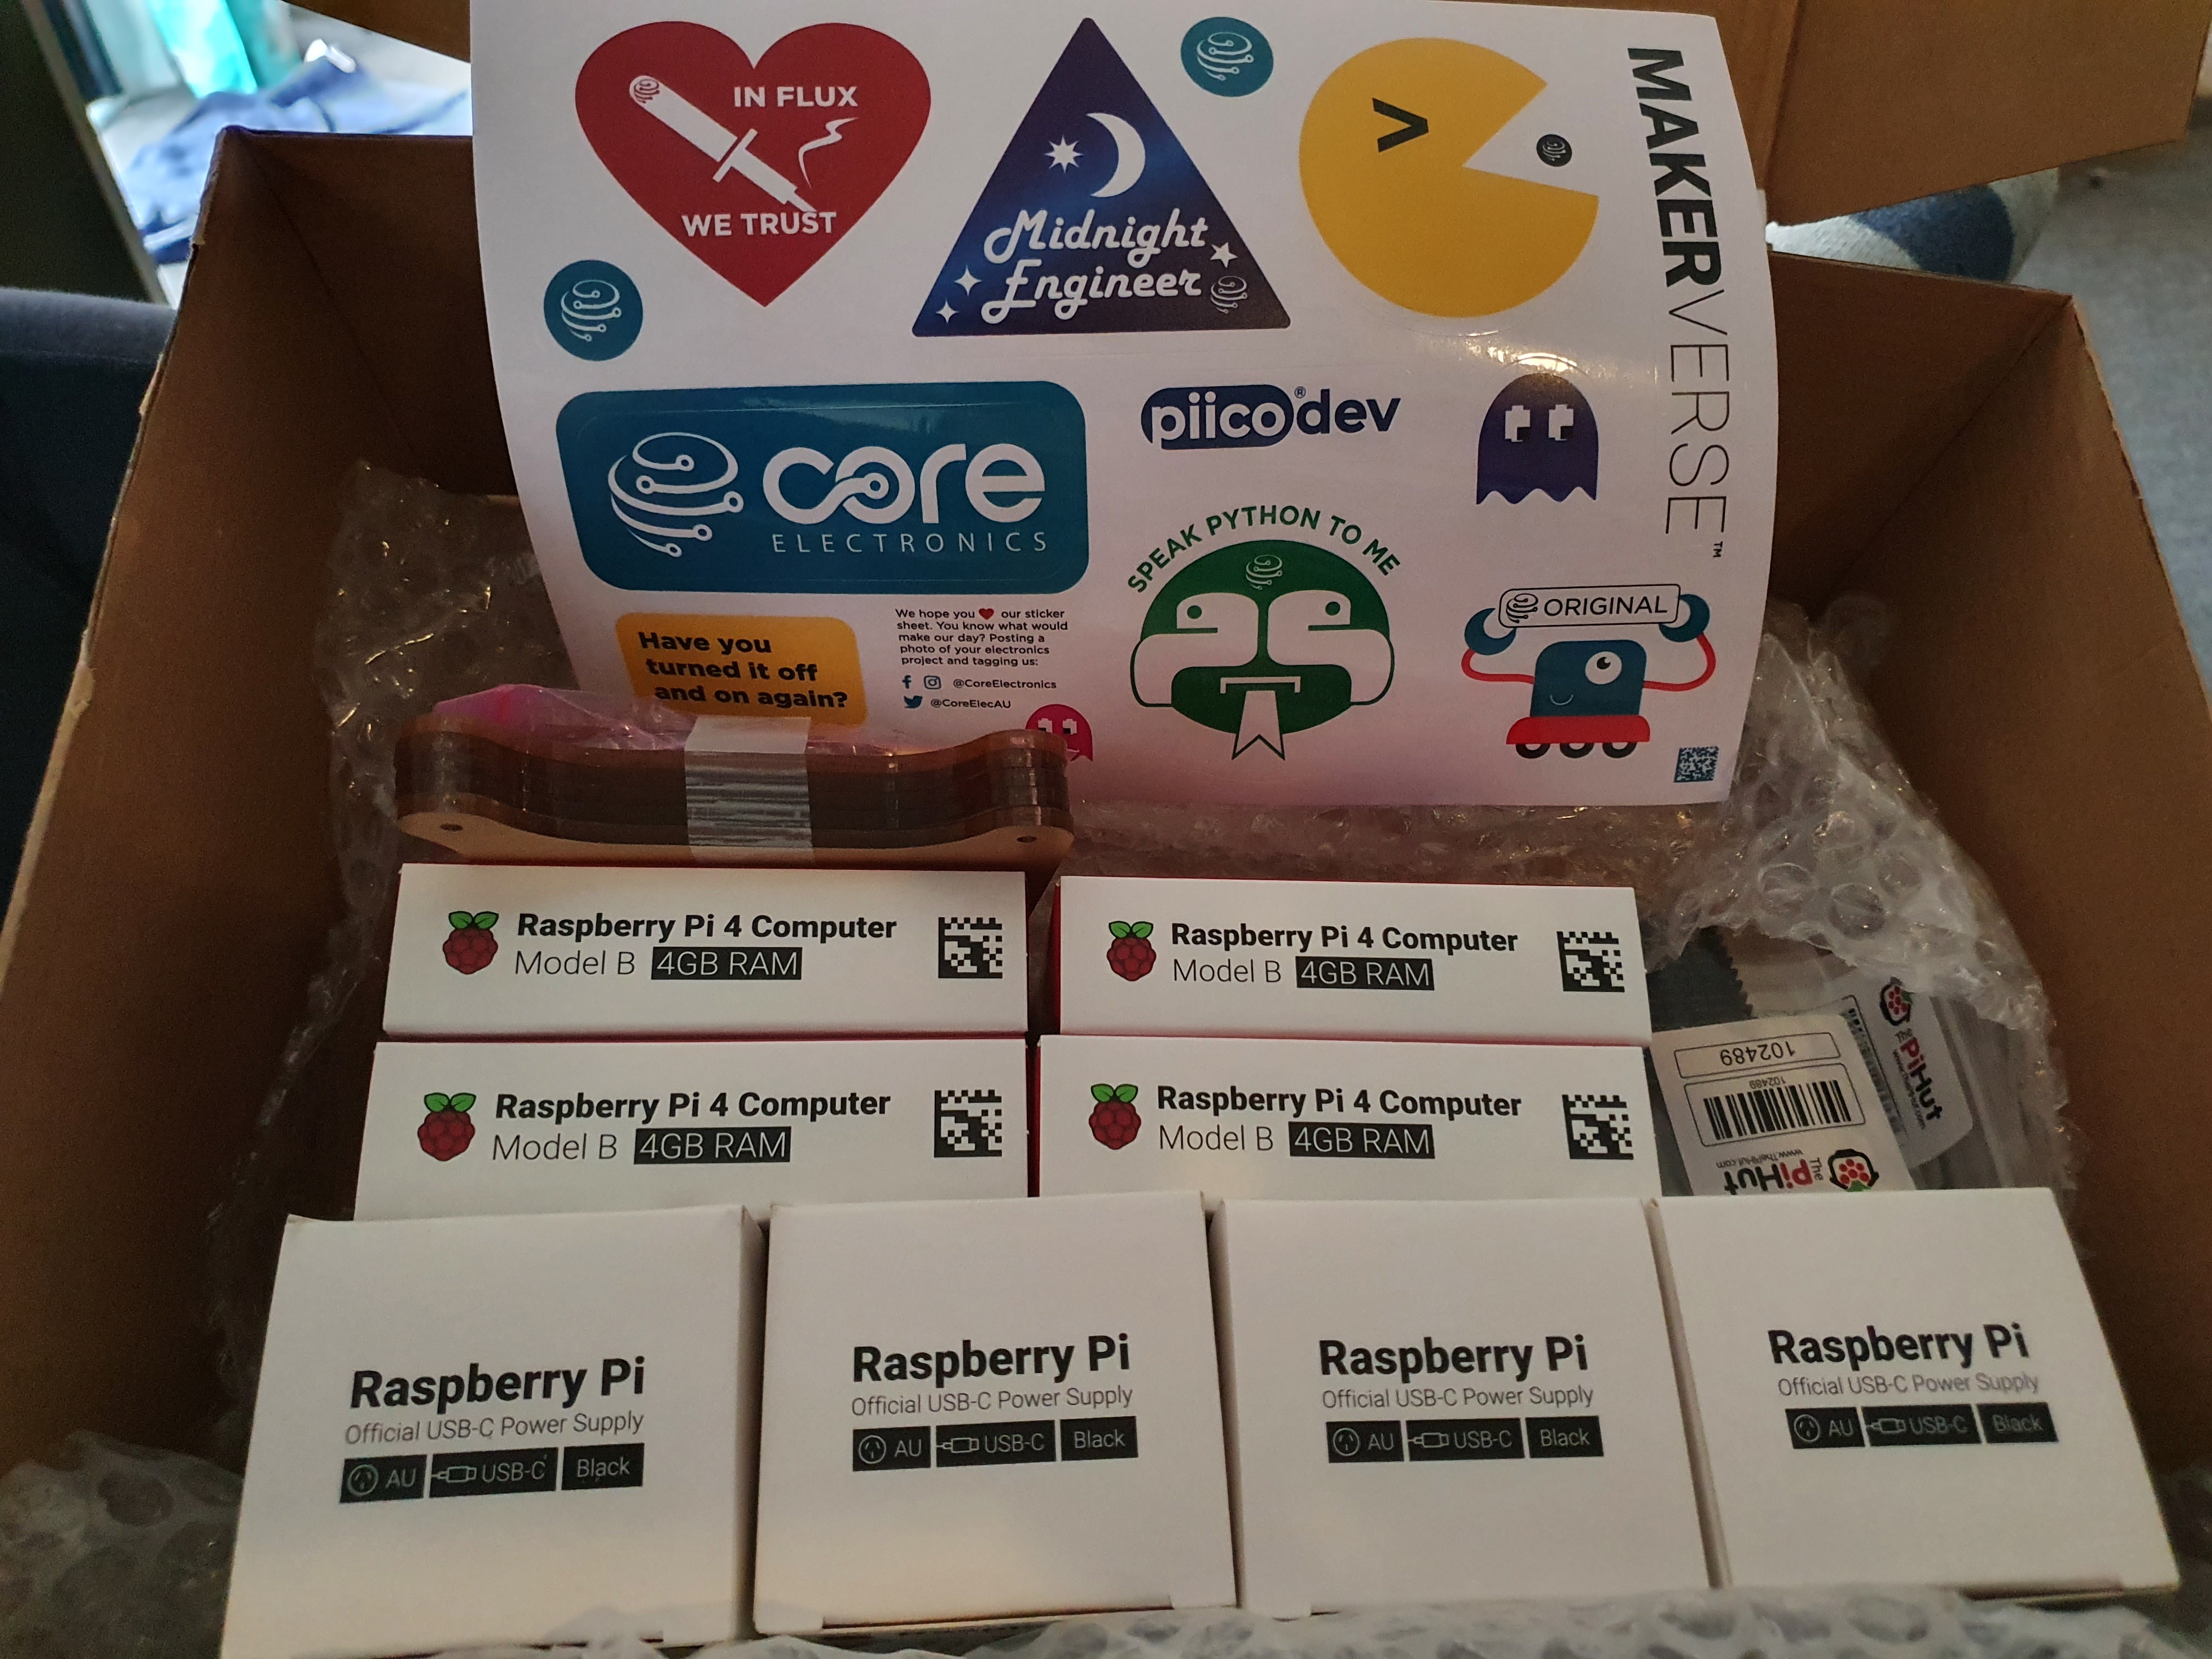
I figured I could set up a single node k8s setup, but it makes things a lot more interesting (and flexible) if I have some more nodes. So, I went and had a look at Core Electronics to see what I could afford with my budget. I ended up with four nodes, and a few extras to make them usable:
- 4x Raspberry Pi 4 Model B 4GB
- 4x USB-C power supplies - the official Raspberry Pi ones because they’re pretty reliable
- 4x Pi4 heatsinks - not entirely necessary since the latest firmware fix some thermal issues
- 4x Micro SD cards - DO NOT rely on cheap ones!
- 1x Tower enclosure - Core Electronics make a really neat open acrylic tower case, and it comes in 10x as well!
I also reused a bunch of bits I had stashed in my junk pile:
- 1x Netgear GS605 Ethernet switch - 5 gigabit ports, perfect for my 4 nodes and an uplink!
- 4x Cat6 patch leads
- 1x 6-point powerboard
- A bunch of cable ties
- various screws etc
Putting it together
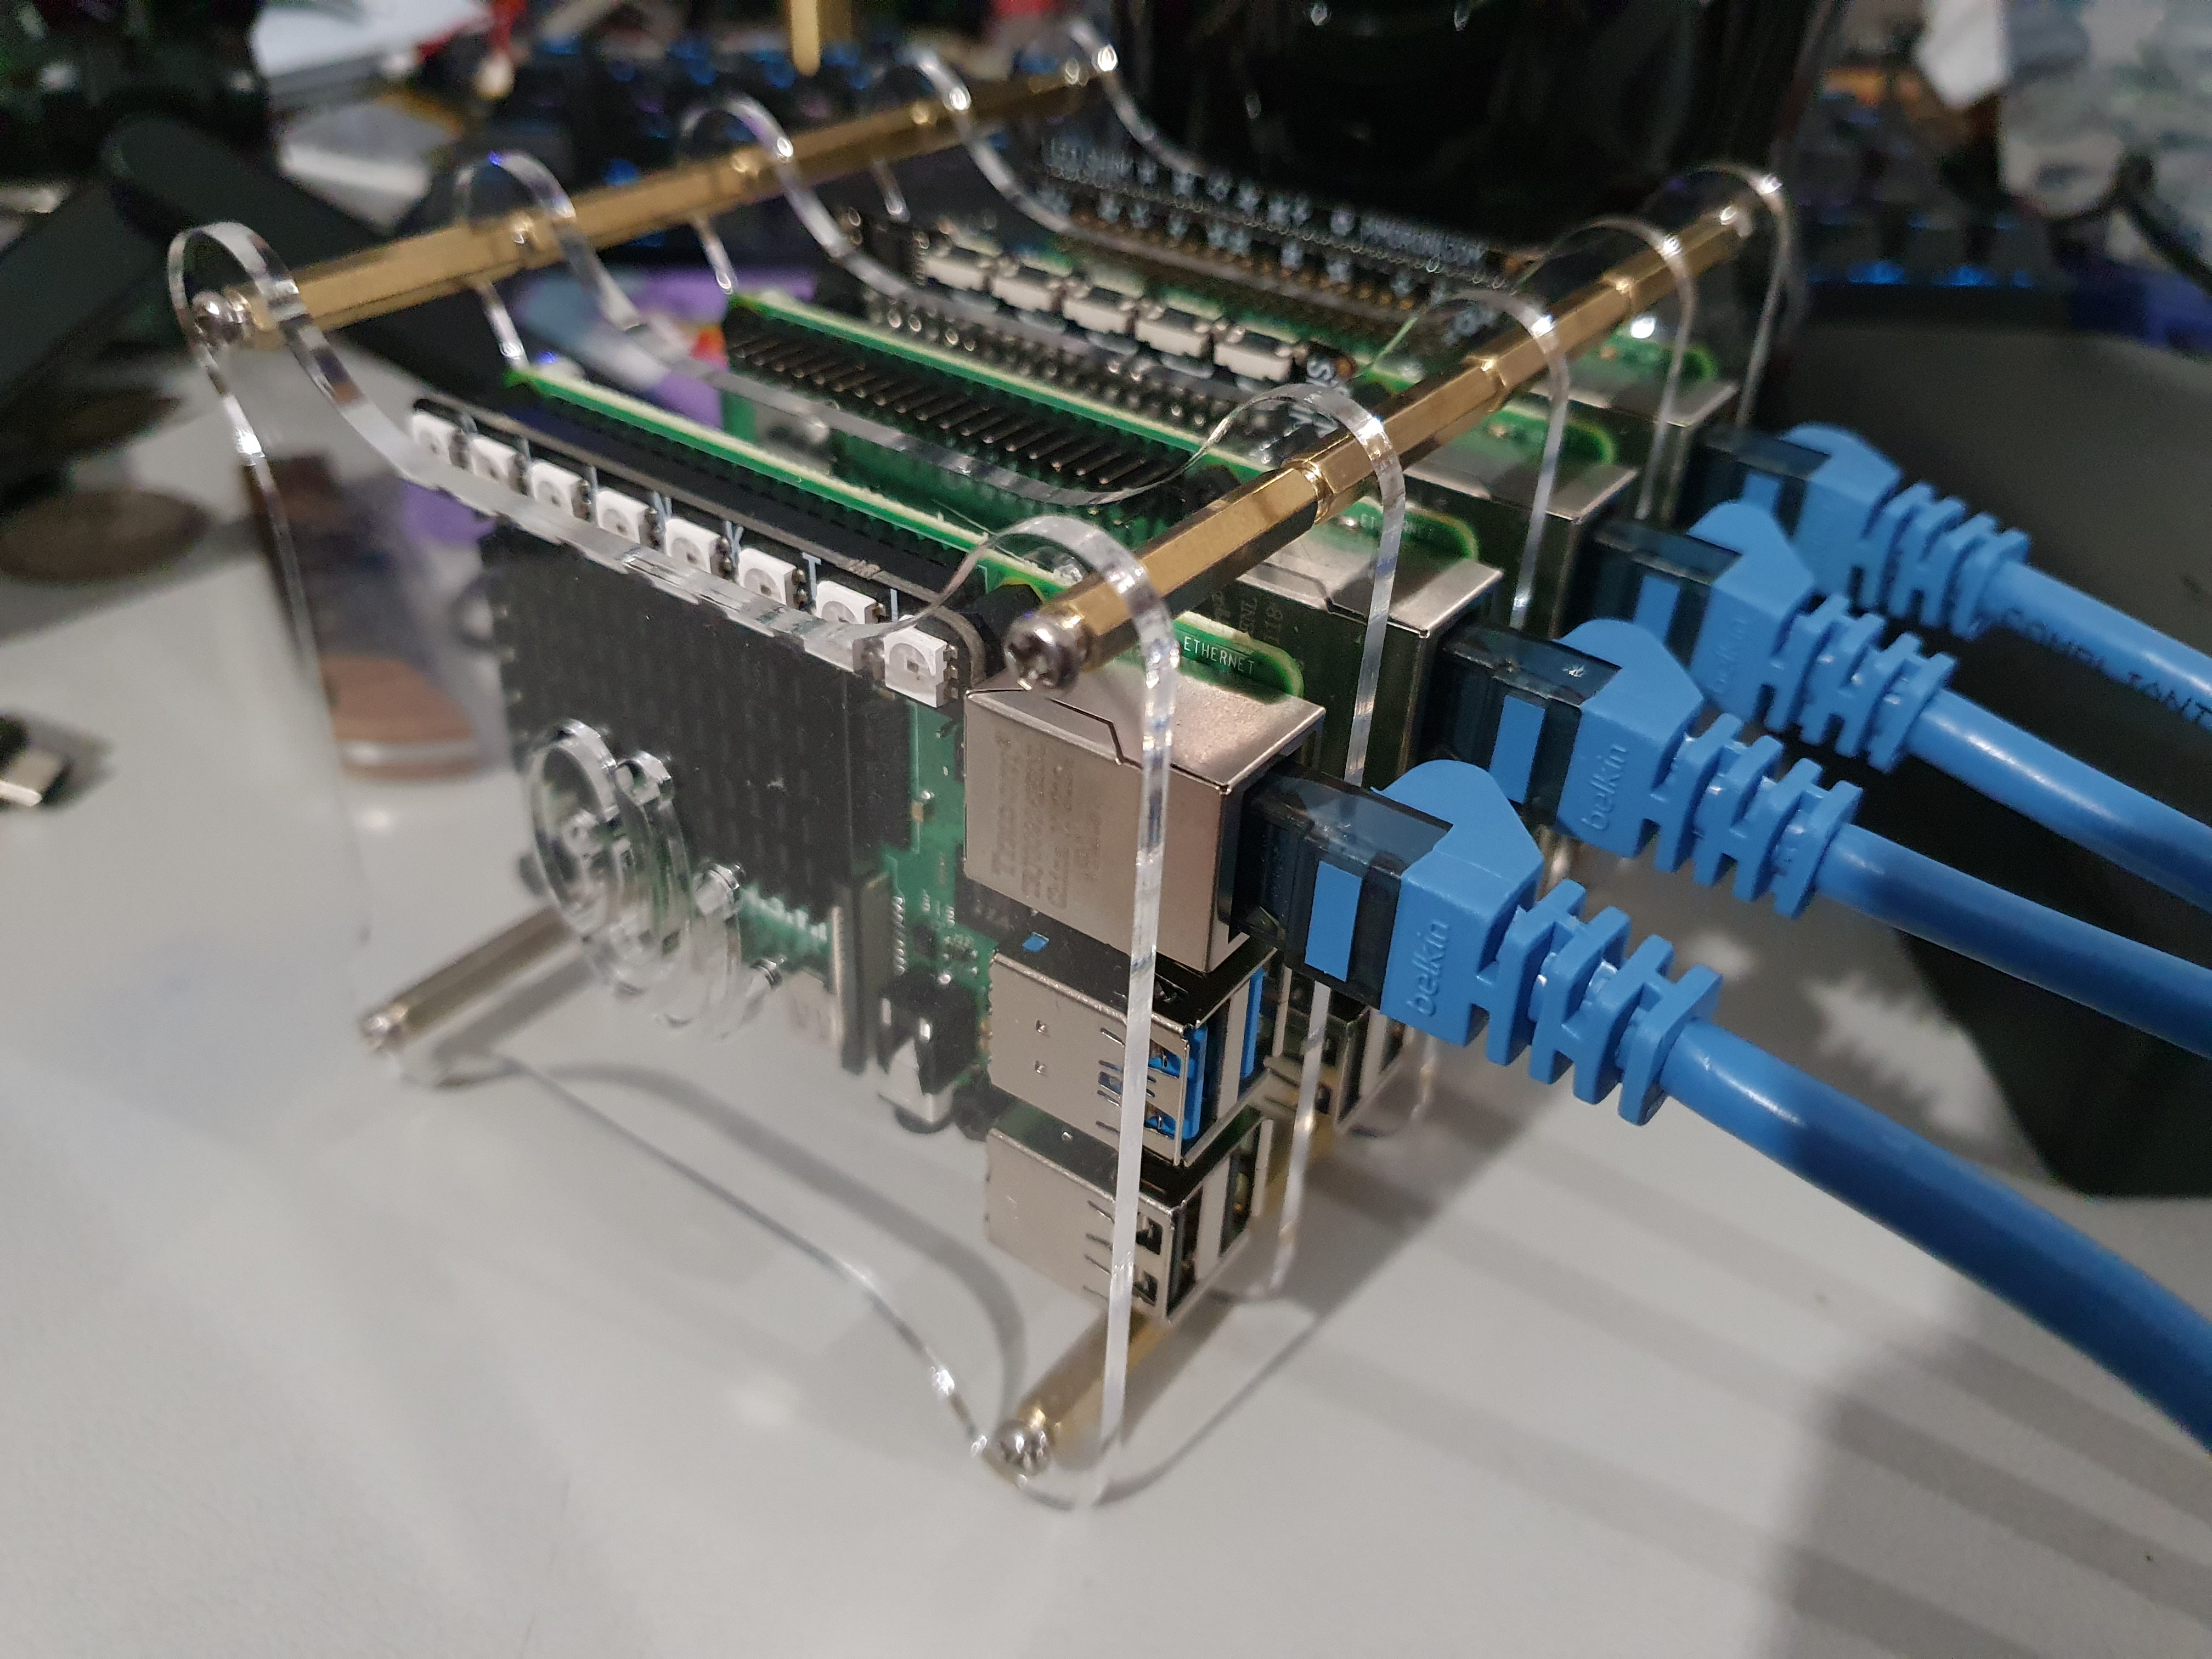
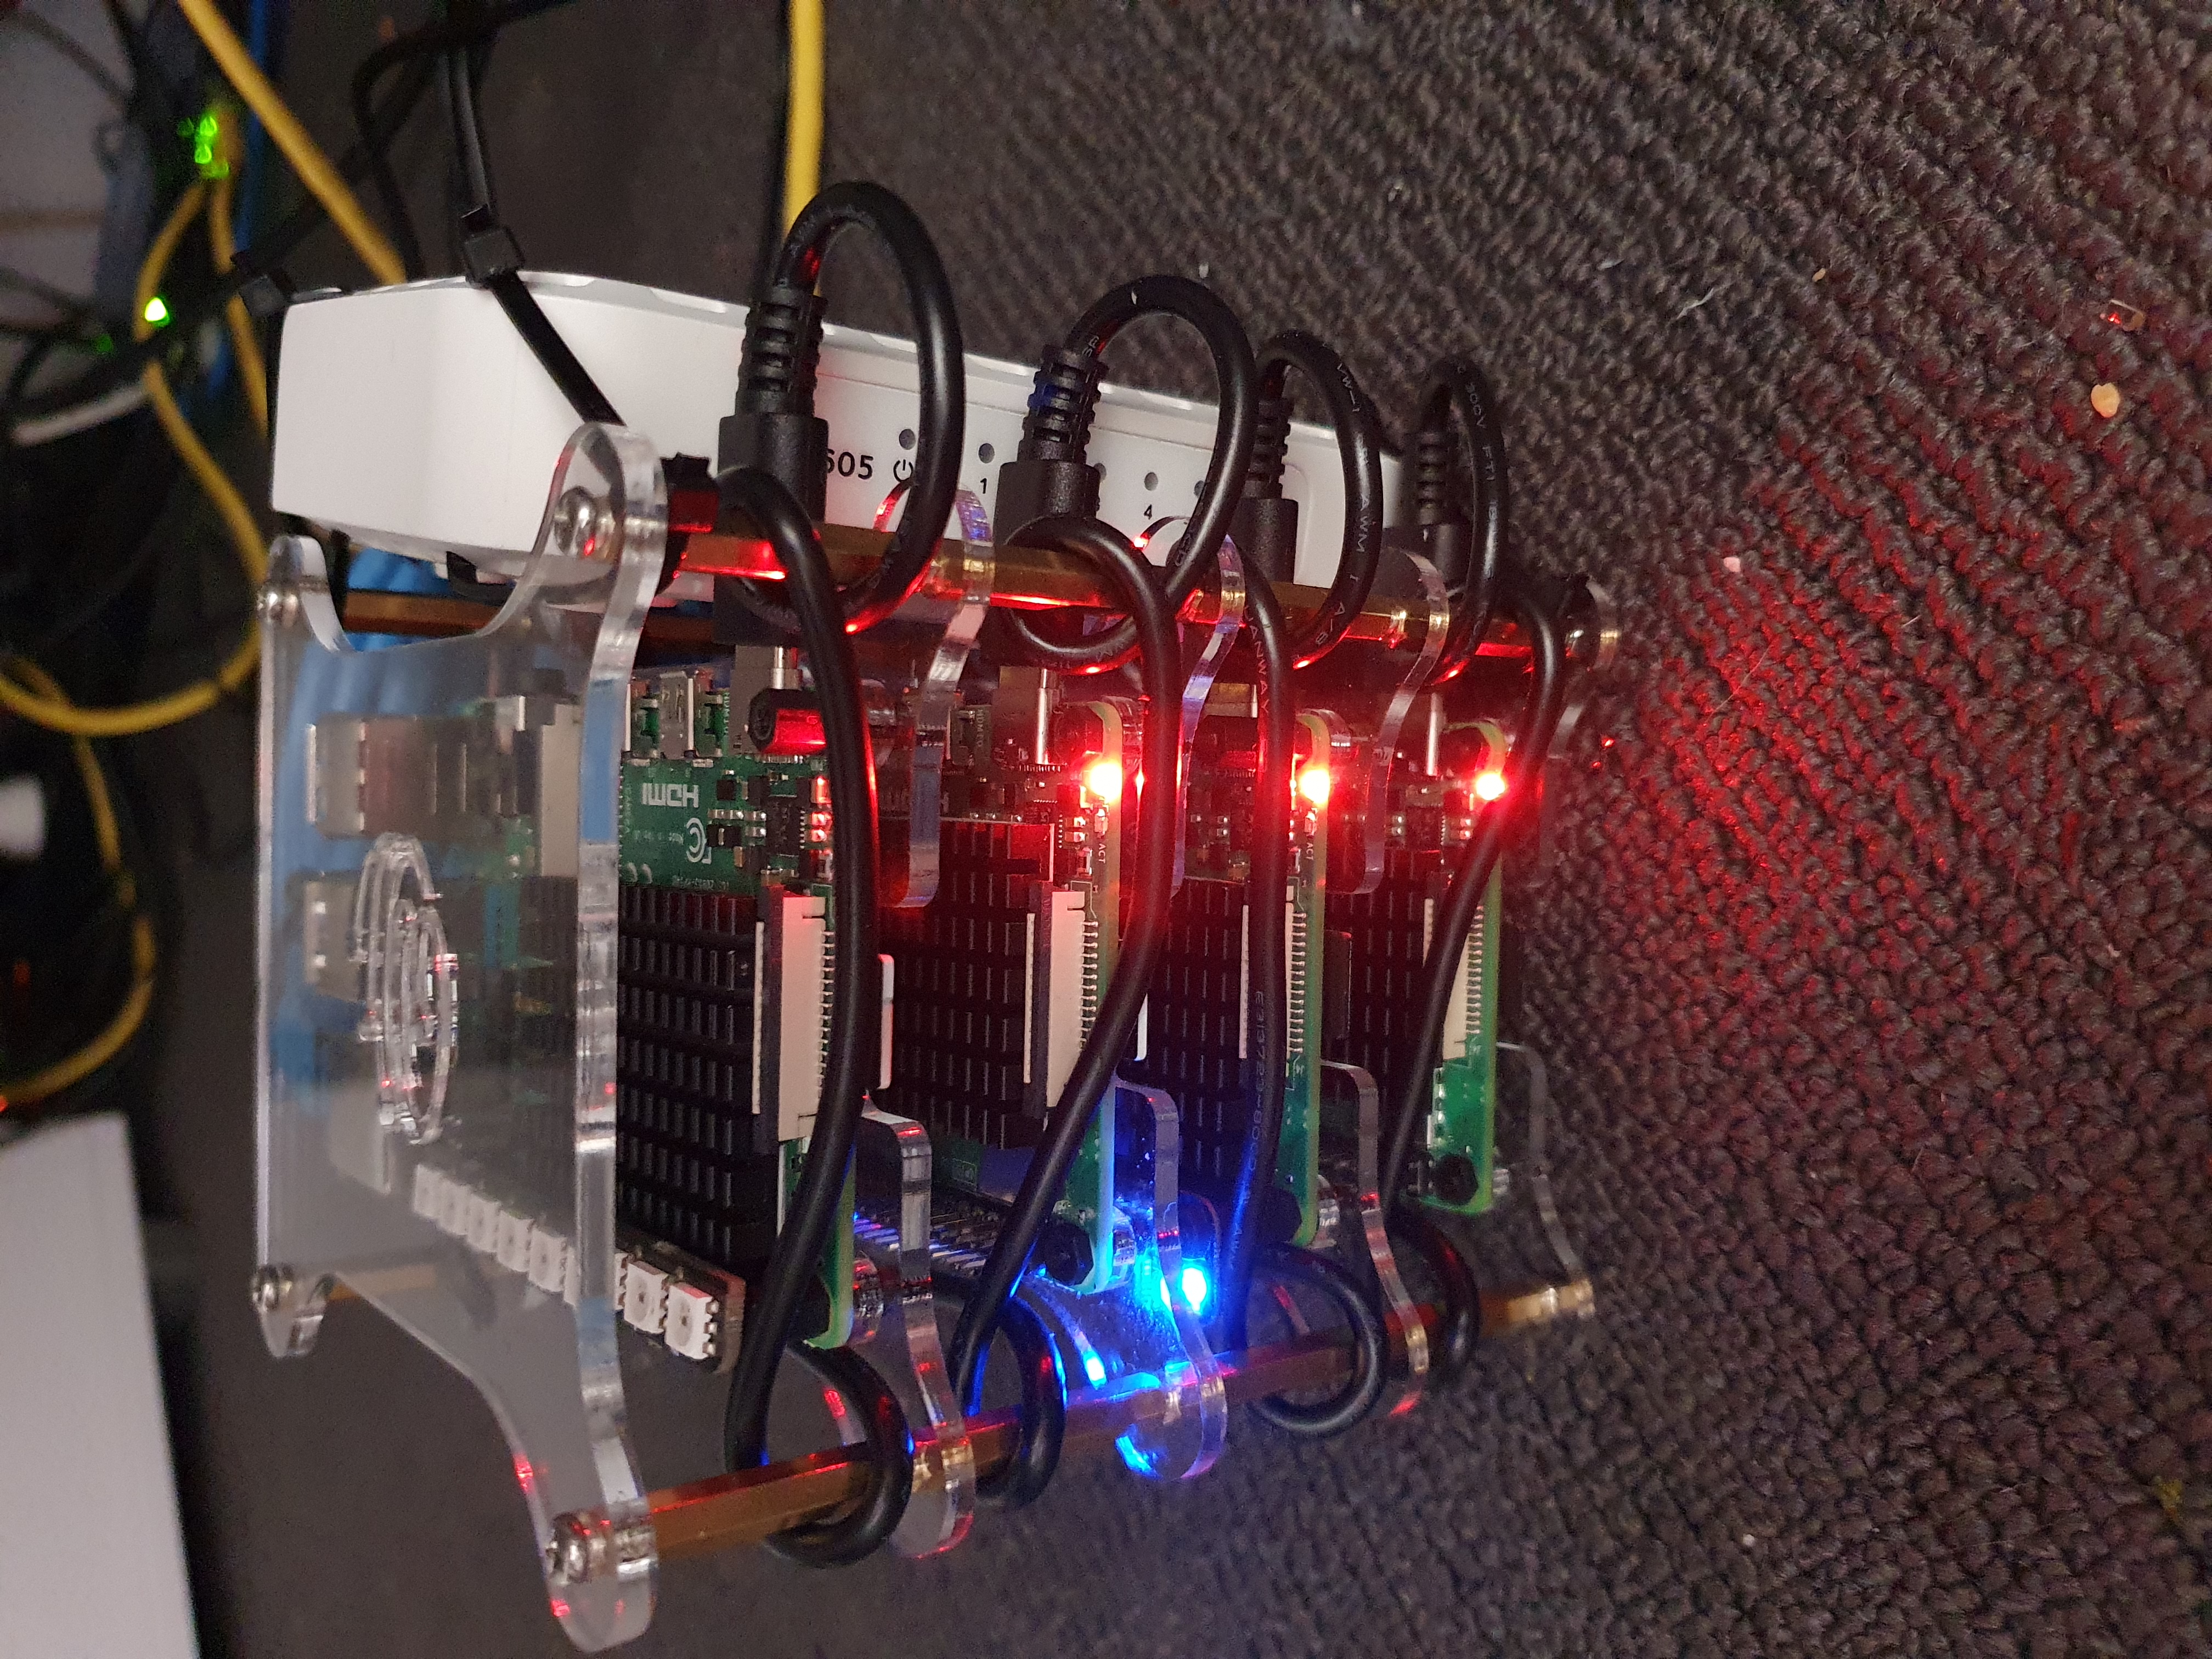
Putting the rpis into the tower case was pretty simple: each board screws into the mounting holes on one of the tower’s plates, with small acrylic washers used as spacers. Having attached each board to a plate, it’s a matter of just fitting the brass stand-offs - I started at the bottom layer and worked my way up, as the threads are longer than the socket on my little toolkit. Then the top plate (the one without a notch for the SD card) goes on top and is held in place with the regular screws.
There’s a couple of things about this case I’m not entirely satisfied with. The biggest gripe I have is with the nylon screws that are supplied with the case for fixing the boards. The thread on these things is more or less non-existant, there’s nothing to grip because the heads of the screws are tiny and the nuts are even smaller. They’re (approximately?) M2 sized as well, which is smaller than the M2.5 mounting holes on the rpi, and the head of the screw is only just barely bigger than the mouning hole. I ended up replacing all of them with some of my stash of M2.5 nylon screws, although it was a struggle fitting them through the teeny tiny holes in the mounting plate and spacers.
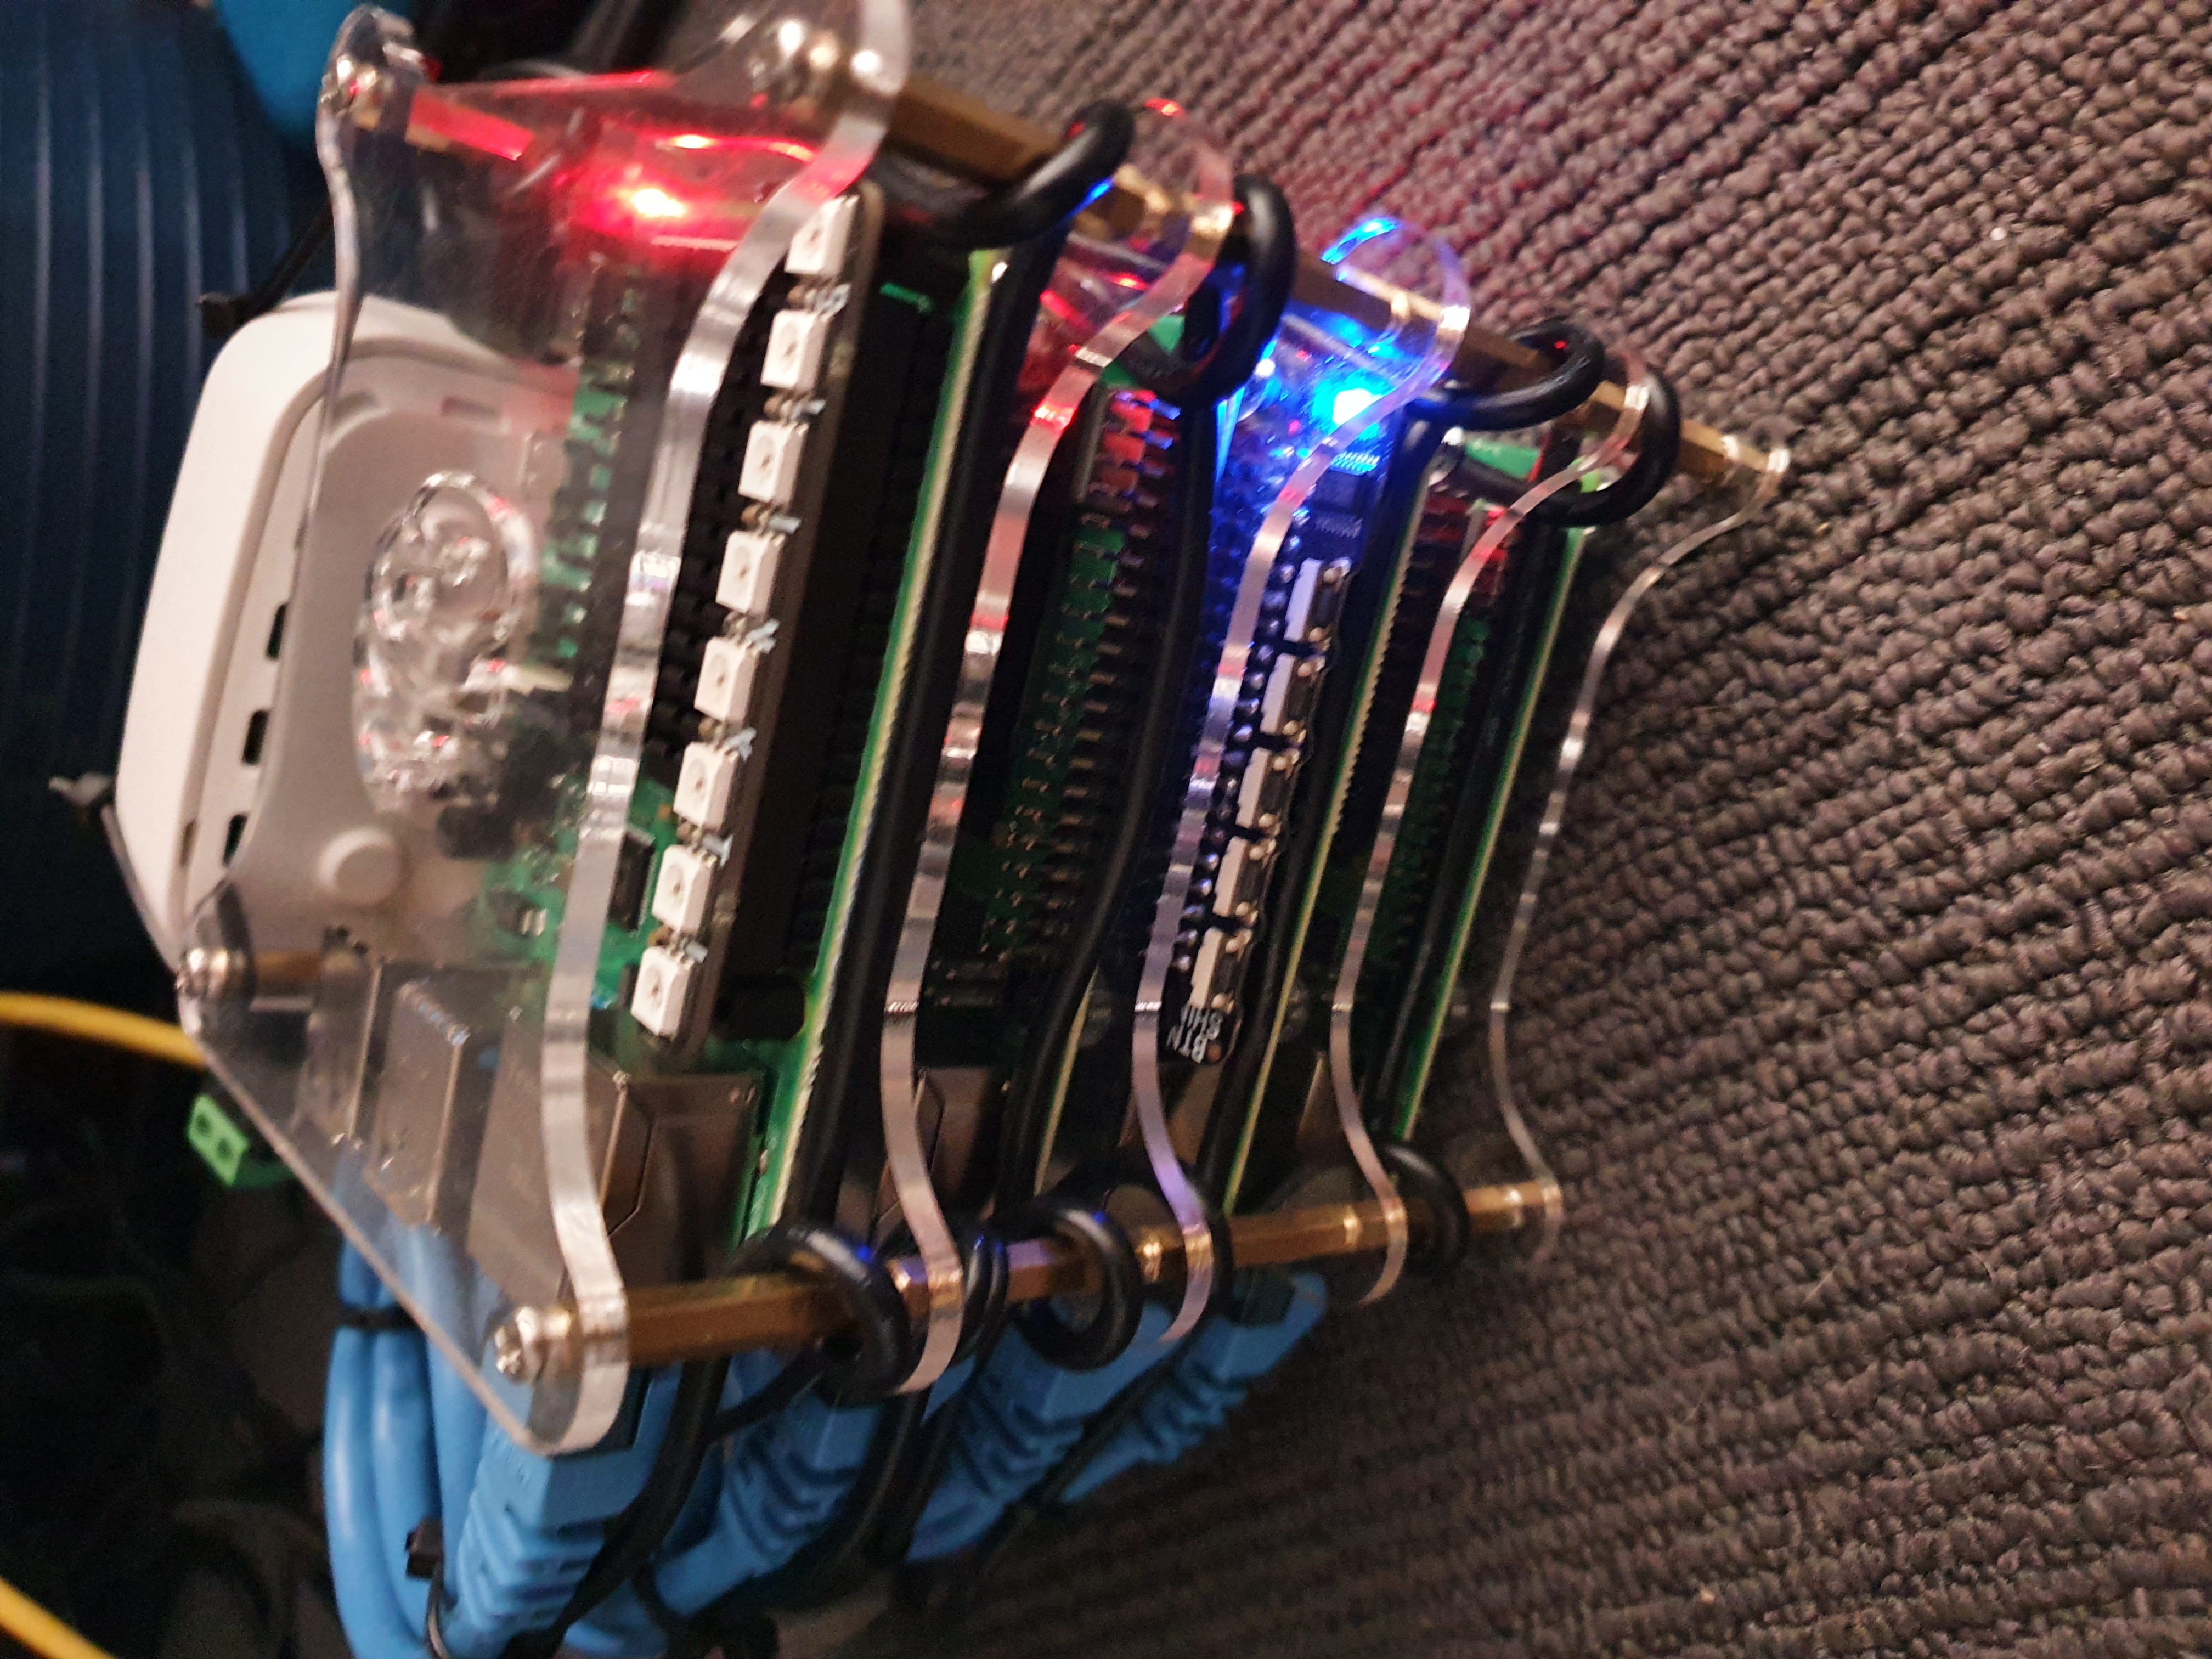
It’s also a pain to get to one of the pis in the middle of the case. If something goes wrong you have to remove every layer above it to get to the damn thing. And of course while I was attempting to do cable routing, I essentially rebuilt the whole thing 4-5 times - since there’s no obvious way to route things cleanly.
On the other hand, it’s really convenient to get to the SD slots, there’s easy access to all of the ports and GPIO, and once it’s all together it’s a really solid little unit.
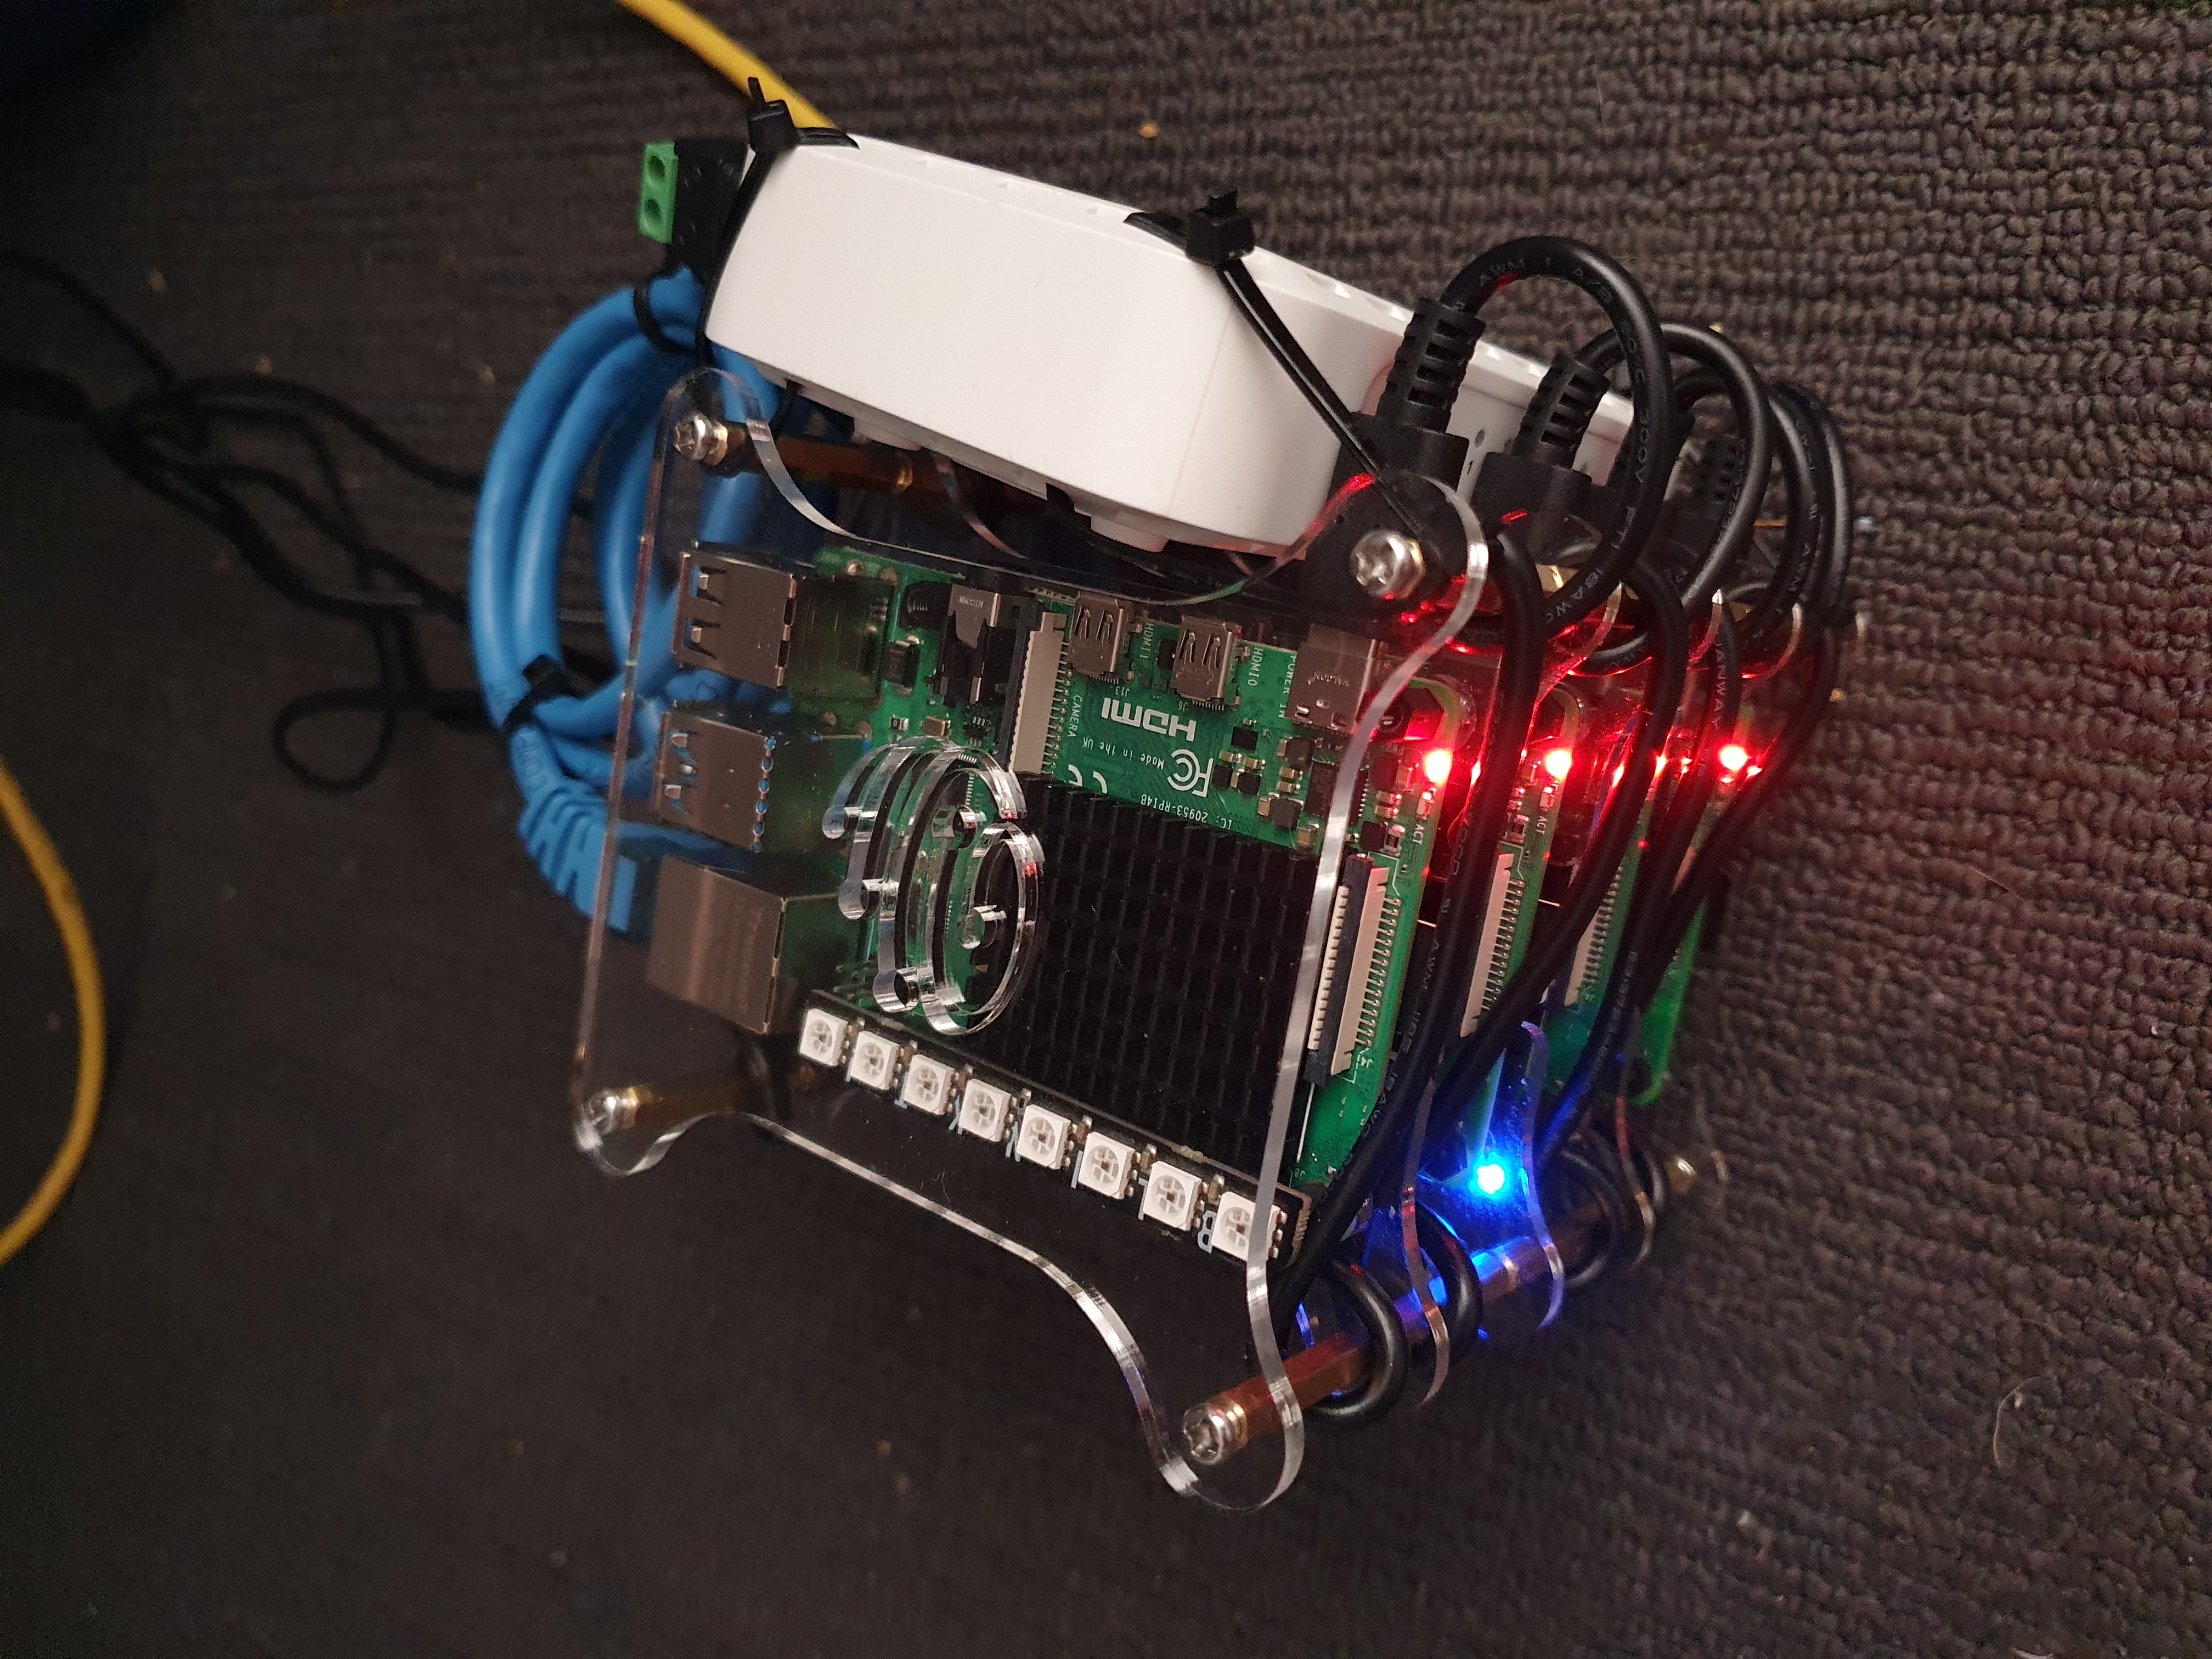
Looping the power cables around the stand-offs came out to be the simplest way to organise the cables. A liberal application of cable ties keeps them all in place, and also holds the Ethernet switch on the side!
Future plans for the hardware
- Better mount for the switch. Possibly even a bigger switch so we can expand later - I’ve got an 8 port one that’s not much bigger that’s also sitting idle.
- Power distribution. Those USB-C power supplies are annoyingly cumbersome. I’d love to be able to power the whole pile from a single input, and maybe even have some intelligence to handle power up and down safely. I can’t just use a big multi-port USB charger, because the rpi4 can suck more power than most of them can supply when they’re working hard.
- Great big fan on the side. A big slow fan to funnel air across the stack will make sure I’m not going to have to deal with thermal events.
- Better cable routing. Cable ties are all well and good, but I’d be much happier with some well designed cable runs through the case. Heck, I’m probably going to end up just building my own case at this rate…
What’s next?
Raspberry Pi OS lite, K3S, and actually using the thing! There’ll be some more words coming soon.